Azure Pipelines
Running on Azure Pipelines will automatically enable custom theming for your build log output including collapsible sections for better structuring:

Please refer to the official Azure Pipelines documentation for questions not covered here.
Environment Variables
You can access predefined environment variables by using the AzurePipelines class:
AzurePipelines AzurePipelines => AzurePipelines.Instance;

Target Print => _ => _
    .Executes(() =>
    {
        Log.Information("Branch = {Branch}", AzurePipelines.SourceBranch);
        Log.Information("Commit = {Commit}", AzurePipelines.SourceVersion);
    });
Exhaustive list of strongly-typed properties
class AzurePipelines
{
    string                       AccessToken                    { get; }
    string                       AgentBuildDirectory            { get; }
    string                       AgentHomeDirectory             { get; }
    long                         AgentId                        { get; }
    AzurePipelinesJobStatus      AgentJobStatus                 { get; }
    string                       AgentMachineName               { get; }
    string                       AgentName                      { get; }
    string                       AgentWorkFolder                { get; }
    string                       ArtifactStagingDirectory       { get; }
    string                       BinariesDirectory              { get; }
    long                         BuildId                        { get; }
    string                       BuildNumber                    { get; }
    AzurePipelinesBuildReason    BuildReason                    { get; }
    string                       BuildUri                       { get; }
    Guid                         CollectionId                   { get; }
    string                       DefaultWorkingDirectory        { get; }
    long                         DefinitionId                   { get; }
    string                       DefinitionName                 { get; }
    long                         DefinitionVersion              { get; }
    string                       JobDisplayName                 { get; }
    Guid                         JobId                          { get; }
    string                       PhaseName                      { get; }
    long?                        PullRequestId                  { get; }
    string                       PullRequestSourceBranch        { get; }
    string                       PullRequestTargetBranch        { get; }
    string                       QueuedBy                       { get; }
    Guid                         QueuedById                     { get; }
    bool                         RepositoryClean                { get; }
    bool                         RepositoryGitSubmoduleCheckout { get; }
    string                       RepositoryLocalPath            { get; }
    string                       RepositoryName                 { get; }
    AzurePipelinesRepositoryType RepositoryProvider             { get; }
    string                       RepositoryTfvcWorkspace        { get; }
    string                       RepositoryUri                  { get; }
    string                       RequestedFor                   { get; }
    string                       RequestedForEmail              { get; }
    Guid                         RequestedForId                 { get; }
    string                       SourceBranch                   { get; }
    string                       SourceBranchName               { get; }
    string                       SourceDirectory                { get; }
    string                       SourceTfvcShelveset            { get; }
    string                       SourceVersion                  { get; }
    string                       StageDisplayName               { get; }
    string                       StageName                      { get; }
    string                       StagingDirectory               { get; }
    Guid                         TaskInstanceId                 { get; }
    string                       TeamFoundationCollectionUri    { get; }
    string                       TeamProject                    { get; }
    Guid                         TeamProjectId                  { get; }
    string                       TestResultsDirectory           { get; }
}
Configuration Generation
You can generate build pipeline files from your existing target definitions by adding the AzurePipelines attribute. For instance, you can run the Compile target on every push with the latest Ubuntu image:
[AzurePipelines(
    AzurePipelinesImage.UbuntuLatest,
    InvokedTargets = new[] { nameof(Compile) })]
class Build : NukeBuild { /* ... */ }
Generated output
stages:
  - stage: ubuntu_latest
    displayName: 'ubuntu-latest'
    pool:
      vmImage: 'ubuntu-latest'
    jobs:
      - job: Compile
        displayName: 'Compile'
        steps:
          - task: CmdLine@2
            inputs:
              script: './build.cmd Compile --skip'
Whenever you make changes to the attribute, you have to run the build at least once to regenerate the pipelines file.
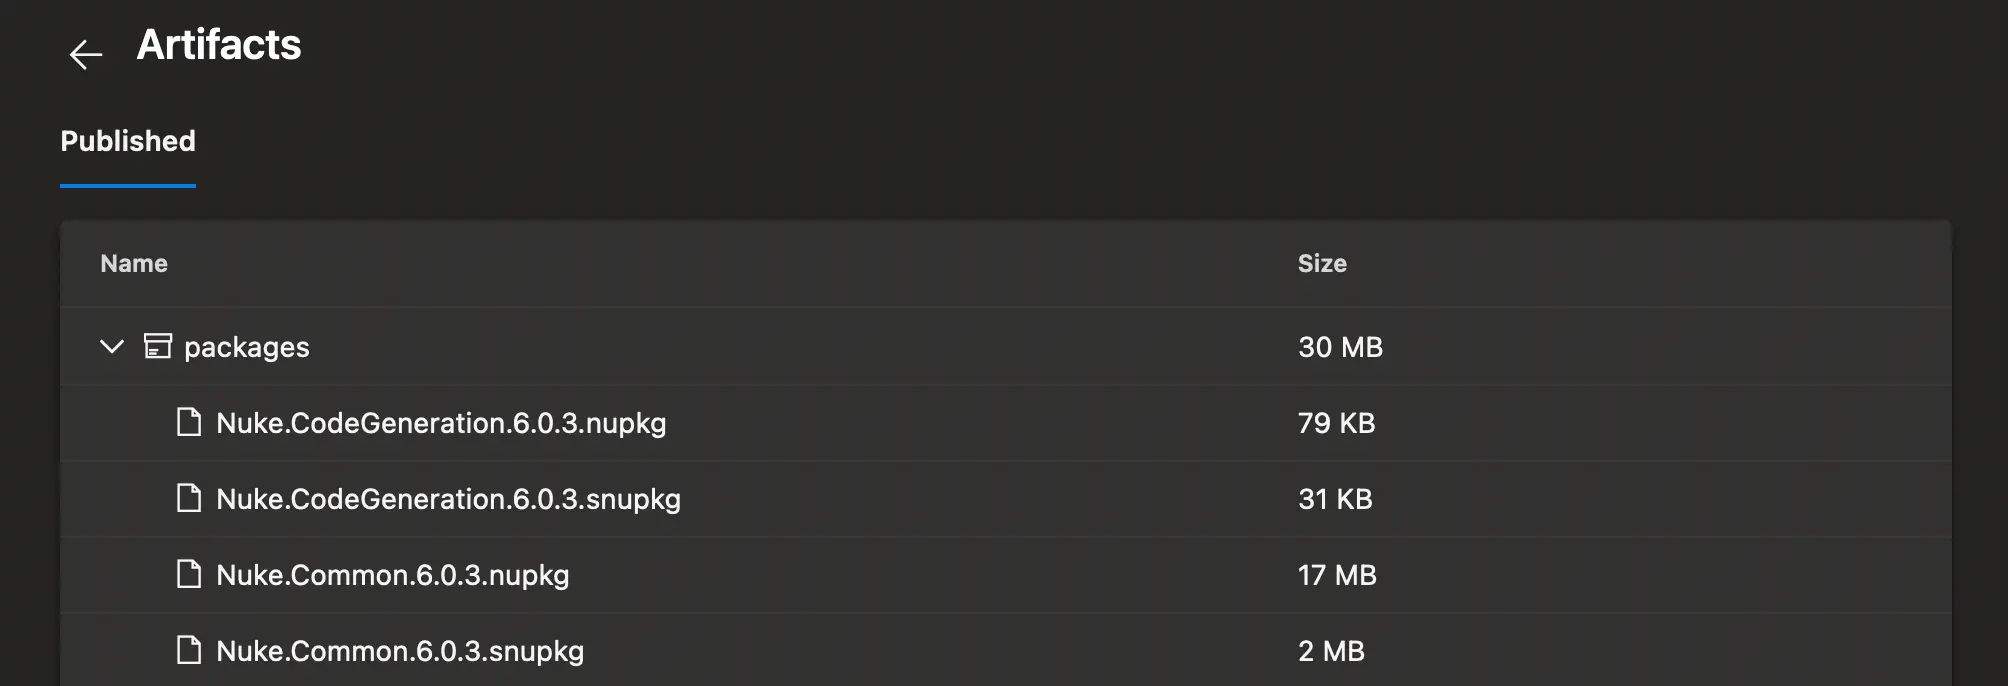
Artifacts
If your targets produce artifacts, like packages or coverage reports, you can publish those directly from the target definition:
Target Pack => _ => _
    .Produces(PackagesDirectory / "*.nupkg")
    .Executes(() => { /* Implementation */ });
Generated output
- task: PublishBuildArtifacts@1
  inputs:
    artifactName: packages
    pathtoPublish: 'output/packages'
After your build has finished, those artifacts will be listed under the artifacts tab:

Importing Secrets
If you want to use secret variables from your repository, you can use the ImportSecrets property to automatically load them into a secret parameter defined in your build:
[AzurePipelines(
    // ...
    ImportSecrets = new[] { nameof(NuGetApiKey) })]
class Build : NukeBuild
{
    [Parameter] [Secret] readonly string NuGetApiKey;
}
Generated output
- task: CmdLine@2
  inputs:
    script: './build.cmd Publish --skip'
  env:
    NuGetApiKey: $(NuGetApiKey)
If you're facing any issues, make sure that the name in the Azure Pipelines settings is the same as generated into the pipelines file.
Using Access Tokens
For every pipeline run, Azure Pipelines generates a one-time token with adequate permissions that you can use to authenticate with the Azure Pipelines API. You can enable the access token in the attribute as follows:
[AzurePipelines(
    // ...
    EnableAccessToken = true)]
class Build : NukeBuild
{
    AzurePipelines AzurePipelines => AzurePipelines.Instance;

    Target Request => _ => _
        .Executes(() =>
        {
            Log.Information("Access Token = {Token}", AzurePipelines.AccessToken);
        });
}
Generated output
- task: CmdLine@2
  inputs:
    script: './build.cmd Release --skip'
  env:
    SYSTEM_ACCESSTOKEN: $(System.AccessToken)
Caching
By default, the generated pipeline file will include caching tasks to reduce the time for installing the .NET SDK (if not preinstalled) and restoring NuGet packages.
Generated output
- task: Cache@2
  displayName: Cache (nuke-temp)
  inputs:
    key: $(Agent.OS) | nuke-temp | **/global.json, **/*.csproj
    restoreKeys: $(Agent.OS) | nuke-temp
    path: .nuke/temp
- task: Cache@2
  displayName: Cache (nuget-packages)
  inputs:
    key: $(Agent.OS) | nuget-packages | **/global.json, **/*.csproj
    restoreKeys: $(Agent.OS) | nuget-packages
    path: $(HOME)/.nuget/packages
You can customize the caching tasks by overwriting the following properties:
[AzurePipelines(
    // ...
    CacheKeyFiles = new[] { "**/global.json", "**/*.csproj" },
    CachePaths = new[]
    {
        AzurePipelinesCachePaths.Nuke,
        AzurePipelinesCachePaths.NuGet
    })]
class Build : NukeBuild { /* ... */ }